A while ago (in Part 1) I showed you how to create text fields in your PDFs. This allowed users to customise the document with their own details. You’ll see on that page that Ric was interested to know if / how you could go about having the same functionality with images. Part 2 shows you how:
As with Part 1, this should work with any PDF, no matter what size or intended purpose, and on any PDF that has been created with a respectable program.
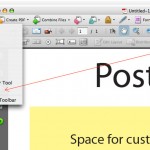 Open the PDF with Acrobat Pro (I’m using version 9.5). Again, as with Part 1, use the TouchUp Object tool to delete anything you may have placed as a placeholder (image shows the poster from Part 1, but you get the idea).
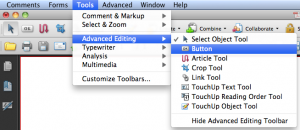
The image area will be a button, so use the Button tool to draw the area in which you’d like your image to be placed:
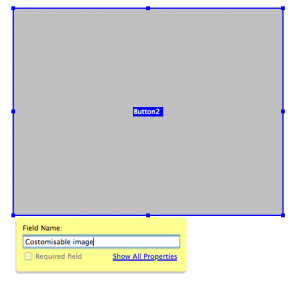
Name your button and Show All Properties:
Enter a Name and Tooltip for the button and edit the Appearance to get it how you want it.
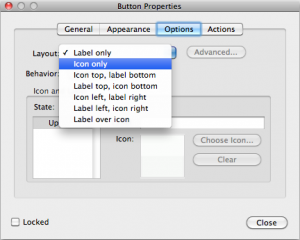
In the Options tab, it is important that you select Icon only as the image your user selects will essentially become the icon for this button:
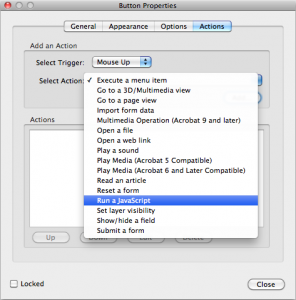
Next, go to the Actions tab and choose Run a JavaScript under Select Action:
Then click  . This will bring up a window — enter the following:
event.target.buttonImportIcon();
This should look like this. Click  .
.
The box can be left empty if you wish, so that the user can add an image to a blank space, but you can now click on the area you’ve just defined and choose an image you’d like to add to the document. In the window where you select your file, you will have to specify the file type before it lets you select it, unless you are looking to insert a PDF which Acrobat will select by default.

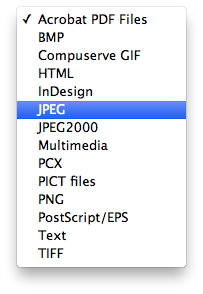 Once you’ve found and clicked on the image you’d like to place, click
  .
.
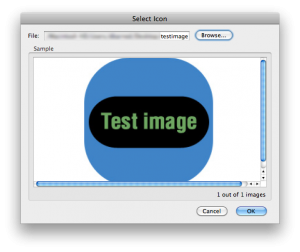
It will then show you a preview of your chosen image.
Click OK and your image will be inserted into your box.
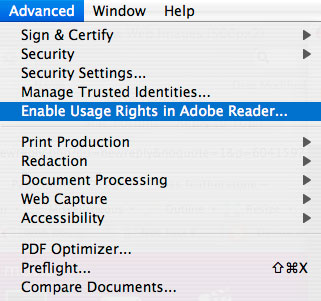
Once your done, Enable Usage Rights in Adobe Reader…, agreeing to whatever it says, and save it where you want it. (Probably best to save it as a new file rather than over your original.)
Anyone should then be able to open the PDF in an up-to-date version of Acrobat Reader (available free) and replace the image by clicking on the area and following the steps above. They will then be able to save, save as, e-mail, print etc.
Good luck! If you have any trouble with it, let me know…
-Doug

